build > BOM
Rat RIg MIll CAD
CAD model for Rat Rig Mill is made available via the Rat Rig Fusion 360 online viewer.
Choose a model to enable the download button below.
Rat Rig Mill - Beginner kit
arrow_forward
Rat Rig Mill - Intermediate kit
arrow_forward
Rat Rig Mill - Advanced kit
arrow_forward
BOM
Below, you will find the BOM spreadsheet for the Rat Rig Mill:
Files
Printed parts
Check our github to get access to STL files for all printed parts. All files are provided in the correct orientation for printing on a standard FDM 3D printer. In general the printed parts are quite forgiving, but are also quite large. If you suffer from drafts and/or poor bed adhesion you may need to use brims/rafts for some parts to prevent warping.The following table shows the recommended print settings when printing any of the parts provided.
Print Settings:
- Perimeters
- 4
- Line Width
- 0.45mm
- Layer height
- 0.2 - 0.3 mm
- Infill
- 25%
- Supports
- None
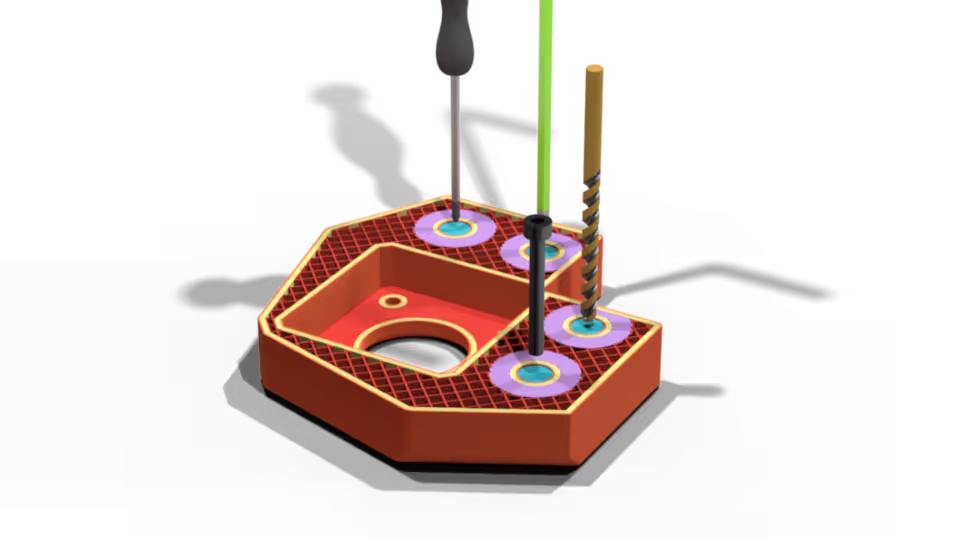
When slicing the files you will notice that some of the holes are covered. This is intentional, to simplify the printing process - those layers are there to trick the slicer into building a bridge there. Once printed those need to be poked out with a screw, screwdriver, Allen key or even a matching size screw.

