3.1 - 3.2H upgrade
Let's go...
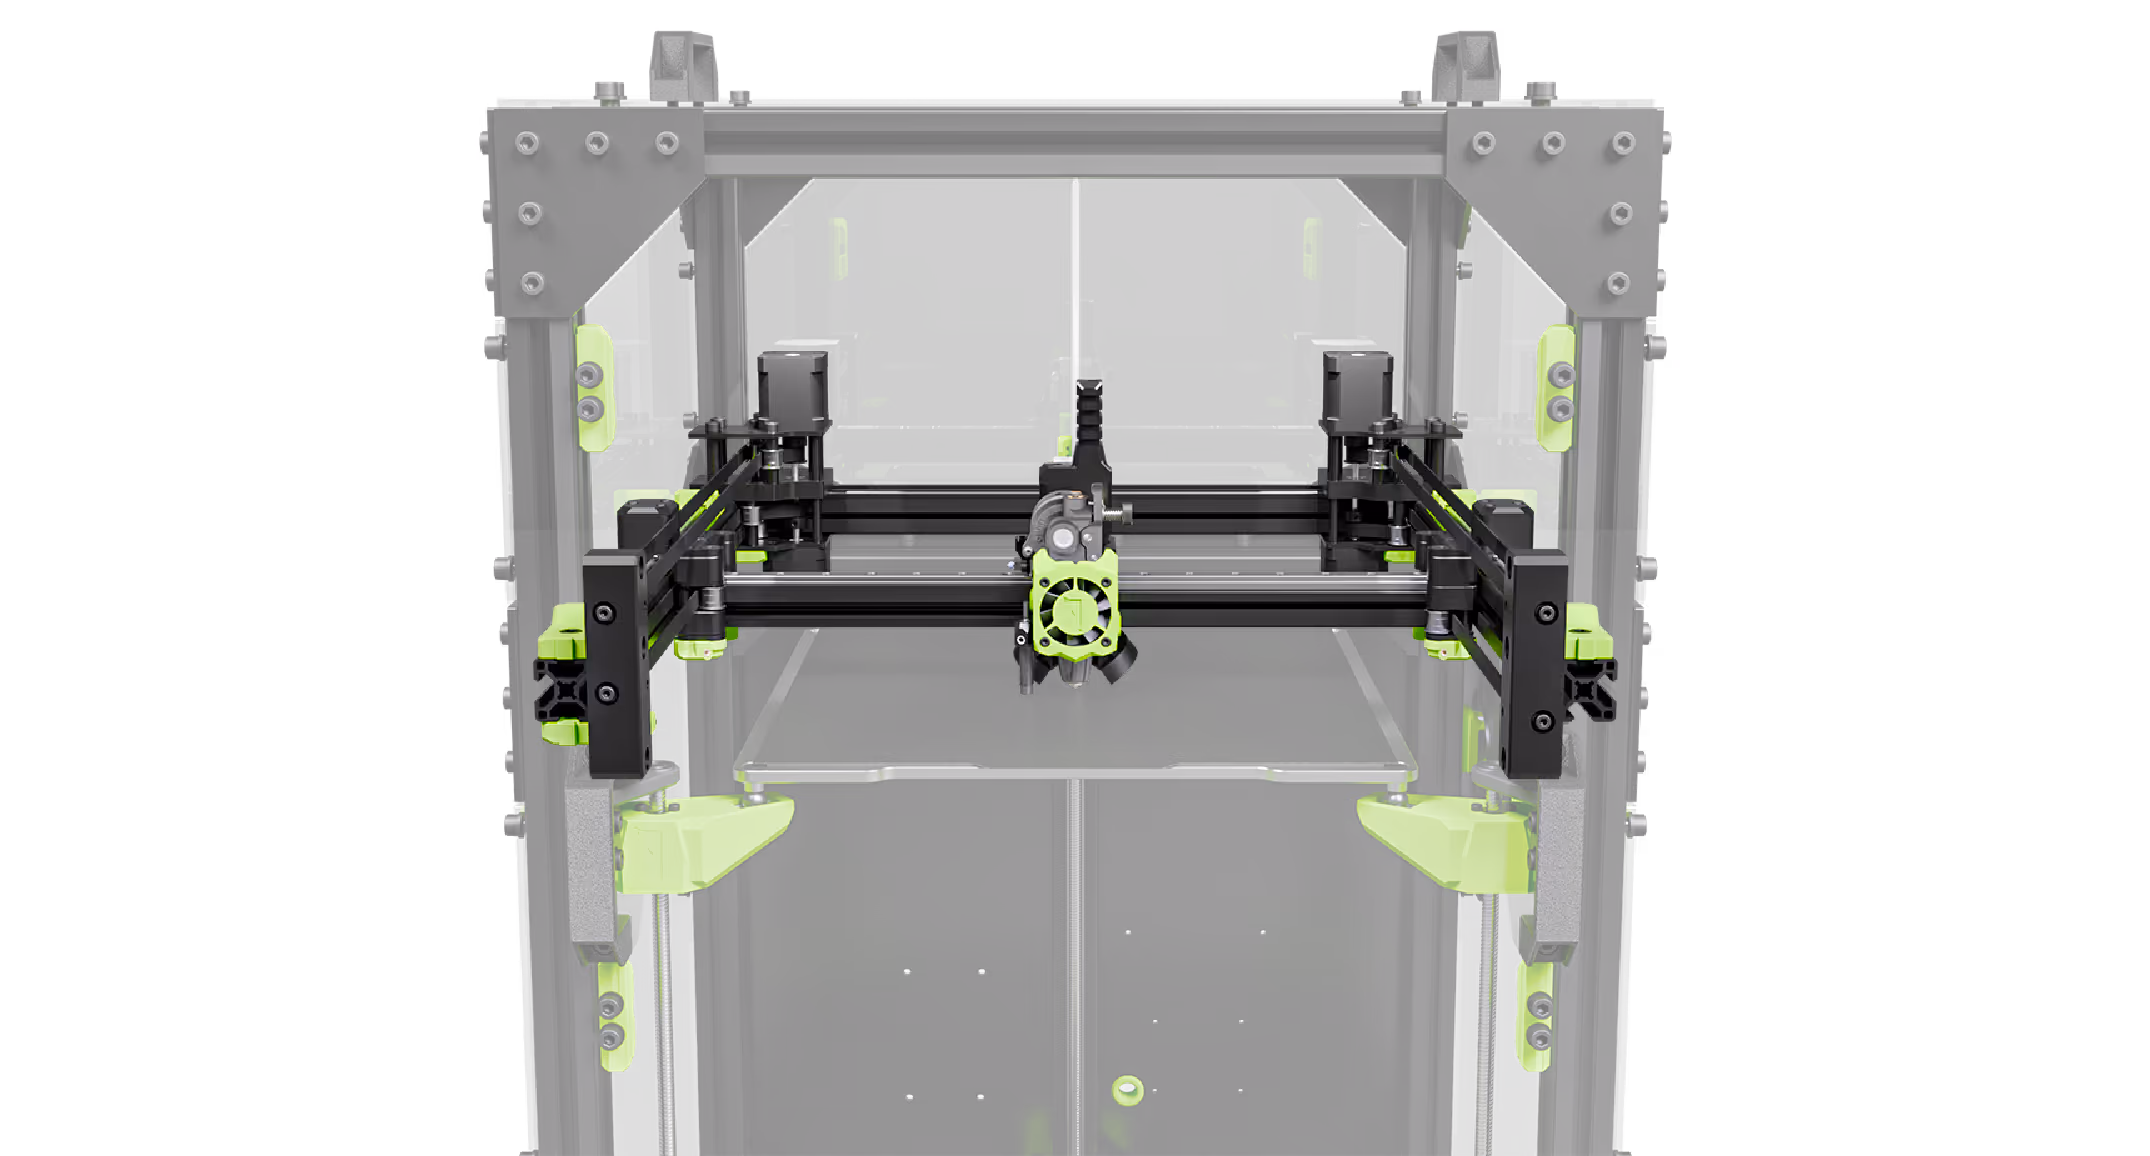
This page will guide you through all the specific V-Core 3.2H content. Below, you will find the CAD, the bill of materials (BOM), the repository of printed components featuring all the STL files, and a comprehensive, step-by-step assembly guide. Check the V-Core 3.2H in our store here.
V-Core 3.2H CAD
CAD models for all V-Core 3.2H sizes are made available via the Rat Rig Fusion 360 online viewer. Choose a model to enable the download button below.
Upgrade BOM
The following list shows all parts contained in the V-Core 3.1 to 3.2H upgrade kit.
Official BOM V-Core 3.2H Upgrade kitUpgrade Printed Parts
These printed parts are required to upgrade a V-Core 3 from 3.1 to 3.2H. They can be downloaded individually or you can download the archive containing all of the 3.2H upgrade files by clicking the button bellow:
Download STL filesUpgrade Build Guide
The V-Core 3.2H upgrade guide walks you through the disassembly steps necessary to prepare your printer for the V-Core 3.2H upgrade. Follow it on Dozuki by clicking the button or on the window bellow.
V-Core 3.1 to 3.2H Upgrade GuideV-Core 3.2H Commissioning Guide
The V-Core 3.2H configuration is closely aligned with the V-Core 4. As such, the V-Core 4 commissioning guide can be used to commission the V-Core 3.2H. Please be aware of the following differences:
1) On RatOS during the Initial Configuration for the Hybrid, make sure to select "Rat Rig V-Core 4 Hybrid" in the printer selection.
Note: Size of the machine chosen is not important as it will be overwritten later.
2) During the configuration process, remember to select the SuperPinda Z-probe and complete the configuration.
3) Next, select your machine size using the buttons below. Depending on your browser, the file will either open directly or download. In either case, copy all of the text and paste it into your printer.cfg just above the line which reads
`<---------------------- SAVE_CONFIG ---------------------->`.
This will override the selected VC4 configuration with the required VC3.2H values.
4) Save and restart.
5) Return to the commissioning process.
6) When you reach the Home Sequence chapter, instead refer to the V-Core 3.1 Z-offset chapter linked below.
7) After completing the V-Core 3.1 Z-offset chapter, skip to the Bed PID chapter inside of build plate preparation section of the V-Core 4 commissioning guide.
V-Core 4 Bed PID8) Do not follow the Switch to Performance Mode chapter unless you have active cooling for your Octopus mainboard and stepper motor drivers.
9) Skip the Beacon Set-up section of the Calibration chapter.
10) You may continue to use your existing slicer profiles, or alternatively, you can use the official V-Core 4 Hybrid profiles in PrusaSlicer.